Ready to tick “see the northern lights” off your bucket list? Whether you’re planning a dream trip to Lapland, Iceland, or northern Canada, or just curious about the science behind the aurora borealis, this guide gives you everything you need—explanations, practical travel tips, photography advice, and booking pointers to help you experience and document the show.
Why the Northern Lights Happen (Quick Science)
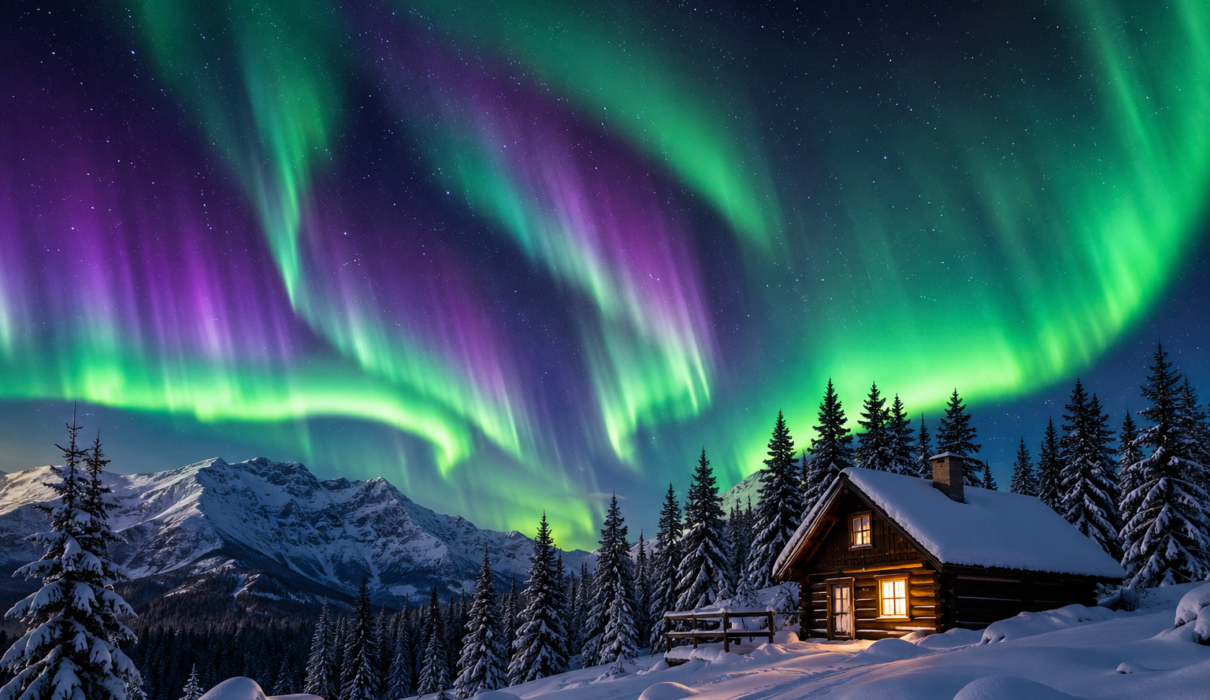
Let’s start with the basics—what causes those shimmering curtains of green, purple, and red light?
What is the aurora borealis?
The northern lights (scientifically called the aurora borealis) are natural light displays in the high-latitude atmosphere caused when charged particles from the sun collide with gases in Earth’s atmosphere. The collisions excite oxygen and nitrogen atoms, which then release photons—light. The color depends on the gas and the altitude.
Key scientific drivers
- Solar wind: a stream of charged particles emitted by the sun.
- Geomagnetic field: funnels particles toward the poles, creating auroral ovals.
- Altitude and gas type: oxygen produces green or red; nitrogen gives purples and blues.
- Solar activity: coronal mass ejections (CMEs) and solar flares increase auroral intensity.
Semantic variations you might see: auroras, aurora borealis, northern lights, geomagnetic storms, auroral displays.
Best Places to See the Northern Lights
Where you go matters. Light pollution, latitude, weather, and local conditions all affect your chances.
Top destinations
- Norway (Tromsø, Lofoten Islands, Svalbard) — great infrastructure and tour options.
- Finland (Lapland, Rovaniemi, Kilpisjärvi) — cozy winter villages and glass igloos.
- Iceland (Reykjavík surroundings, Westfjords, Jokulsarlon) — dramatic landscapes plus aurora.
- Sweden (Abisko National Park, Kiruna) — top weather conditions and clear skies.
- Canada (Yukon, Northwest Territories, Nunavut) — remote wilderness and dark skies.
- Alaska (Fairbanks, Denali vicinity) — long aurora season and many tour operators.
Choosing a location
- Latitude: Aim for places inside or near the auroral oval (mid- to high-latitudes).
- Weather: Look for areas with frequent clear nights and low cloud cover.
- Infrastructure: If you want guided tours, photography workshops, or accommodation, choose tourist-friendly towns.
- Dark skies: Prioritize locations away from city lights for better viewing.
When to Go: Timing Your Aurora Hunt
Timing affects success more than you might think. Season, solar cycle, and darkness windows all matter.
Best season
- Prime months: September to March for long nights in the Northern Hemisphere.
- Shoulder months (Aug, Apr): Can still be excellent with milder weather and fewer tourists.
- Summer: Midnight sun eliminates long dark windows, reducing aurora visibility.
Daily timing and solar considerations
- Peak viewing window: roughly 9pm–2am local time, though displays can occur anytime after dark.
- Solar cycle: Approximately 11-year cycle that affects frequency and intensity—solar maximum means more frequent strong auroras.
- Keep an eye on KP index and NOAA forecasts for geomagnetic activity predictions.
How to Plan Your Trip (Practical Tips)
Planning increases your odds and reduces stress. Here’s a practical checklist to prepare for a northern lights trip.
Booking and logistics
- Book at least 2–4 nights in aurora country to increase chances—auroras are natural and not guaranteed.
- Consider guided tours: operators handle transport, local knowledge, and photography help.
- Reserve winter gear or a place with reliable clothing rental if you don’t have thermal layers and boots.
- Monitor flexible cancellations—weather-dependent travel benefits from flexibility.
Packing list
- Warm layers: base layers, mid-layers, down jacket, insulated pants, wool socks.
- Accessories: warm hat, gloves or mittens (bring liners), neck gaiter.
- Footwear: insulated, waterproof boots with good traction.
- Photography: DSLR or mirrorless camera, sturdy tripod, wide-angle lens (f/2.8 or faster), spare batteries (cold drains them), memory cards.
- Tech & apps: power bank, headlamp with red light mode, aurora forecast apps (e.g., My Aurora Forecast, AuroraWatch), weather app.
Booking Tours vs. Independent Travel
Both options work—your choice depends on comfort level, budget, and the type of experience you want.
Pros of guided tours
- Local guides know the best viewing spots and microclimates.
- Transport and safety handled, especially important in winter conditions.
- Many tours include photography coaching and warm shelters.
Pros of independent travel
- Flexibility to chase clear skies and customize your schedule.
- Potential cost savings if you’re comfortable driving in snow and planning logistics.
- Chance to combine with hiking, hot springs, or local culture at your own pace.
Photography Tips: Capture the Northern Lights
Want to photograph the aurora like a pro? These practical tips help you get striking images even on your first shoot.
Equipment basics
- Camera: Mirrorless or DSLR with manual controls.
- Lenses: Wide-angle (14–24mm) with fast aperture (f/2.8 or wider ideal).
- Tripod: Stable and rated for cold temperatures.
- Remote shutter or intervalometer: Prevents camera shake and enables long exposures.
Settings to start with
- Mode: Manual exposure.
- Aperture: Wide open (e.g., f/2.8).
- Shutter speed: 5–15 seconds (shorter for active, fast-moving auroras).
- ISO: 800–3200 depending on camera and noise performance.
- Focus: Manual focus set to infinity (or use live view to focus on a bright star).
Composition tips
- Include a foreground element (trees, cabins, ice, mountains) for scale and depth.
- Use leading lines and the rule of thirds to create dynamic shots.
- Try time-lapses: they convey motion better than single frames.
Weather, Forecasts, and Tools
Smart use of forecasts and apps increases your odds. Here are sources and what they mean.
Key forecast metrics
- KP index: Global geomagnetic activity scale (0–9). Higher numbers mean stronger auroras and visibility at lower latitudes.
- Local cloud cover: Clear skies beat high KP indices if it’s cloudy.
- Solar wind speed and density: Indicators of incoming auroral activity.
Useful tools and apps
- NOAA Space Weather Prediction Center — official space weather alerts and KP forecasts.
- SpaceWeatherLive.org — real-time solar and geomagnetic data.
- My Aurora Forecast & Alerts (mobile apps) — user-friendly push alerts.
- Aurora Service (Europe/Global) — maps and forecast overlays.
Safety and Responsible Viewing
Respect local conditions and cultures. A little preparation keeps you safe and preserves the environment.
- Dress for severe cold and hypothermia risk—layering is key.
- If driving, ensure your rental is winter-ready (snow tires, chains) and check local road advisories.
- Respect private land and protected areas—follow local guidelines and Leave No Trace.
- Support local businesses and guides—your bookings help sustain communities in remote regions.
Budgeting and Costs
Costs vary by country, season, and how lavish you want the experience to be. Here’s a practical breakdown.
- Flights: Can be the largest expense; book ahead and look for multi-city fares.
- Accommodation: From budget guesthouses to luxury glass igloos—expect premium pricing in peak season.
- Tours: Nightly aurora hunts range from budget group buses to private photo tours; compare inclusions.
- Extras: Gear rental, winter clothing, excursions (dog sledding, snowmobiling), and travel insurance.
FAQ — Common Questions About the Northern Lights
How likely am I to see the northern lights on a trip?
Probability depends on location, season, and solar activity. Heading north for 3–5 nights during aurora season in a place with frequent clear skies gives you a good chance, but there are never guarantees—nature is unpredictable.
Can I see the northern lights from a big city?
Light pollution makes aurora viewing from major cities difficult. You can sometimes spot faint glows on very active nights, but traveling to dark-sky locations is strongly recommended.
Are northern lights dangerous?
No—the lights themselves are harmless. However, cold weather and remote locations carry risks, so prepare appropriately.
What colors will I see?
Green is most common, created by oxygen at mid-altitudes. Red (higher-altitude oxygen) and purple/blue (nitrogen) can appear during strong activity. Colors can be subtle to the eye but more vivid in long-exposure photos.
Do I need a special camera to see them?
No—your eyes are enough to enjoy the show. For dramatic photos, a camera with manual controls, fast wide-angle lens, and tripod is recommended.
Conclusion — Make Your Aurora Experience Memorable
Seeing the northern lights is one of those travel experiences that blends science, wonder, and adventure. By choosing the right location, timing your trip with solar forecasts, preparing for cold weather, and using the photography tips above, you’ll maximize your chances of a memorable encounter. Book a few nights, keep expectations realistic, and savor the experience—sometimes the best moments happen when you simply look up and enjoy the show.
Ready to plan your trip? Start by picking a destination from the list above, check the KP forecasts and local weather, and consider booking a guided night or two to increase your odds and learn from local experts.
Happy aurora hunting!