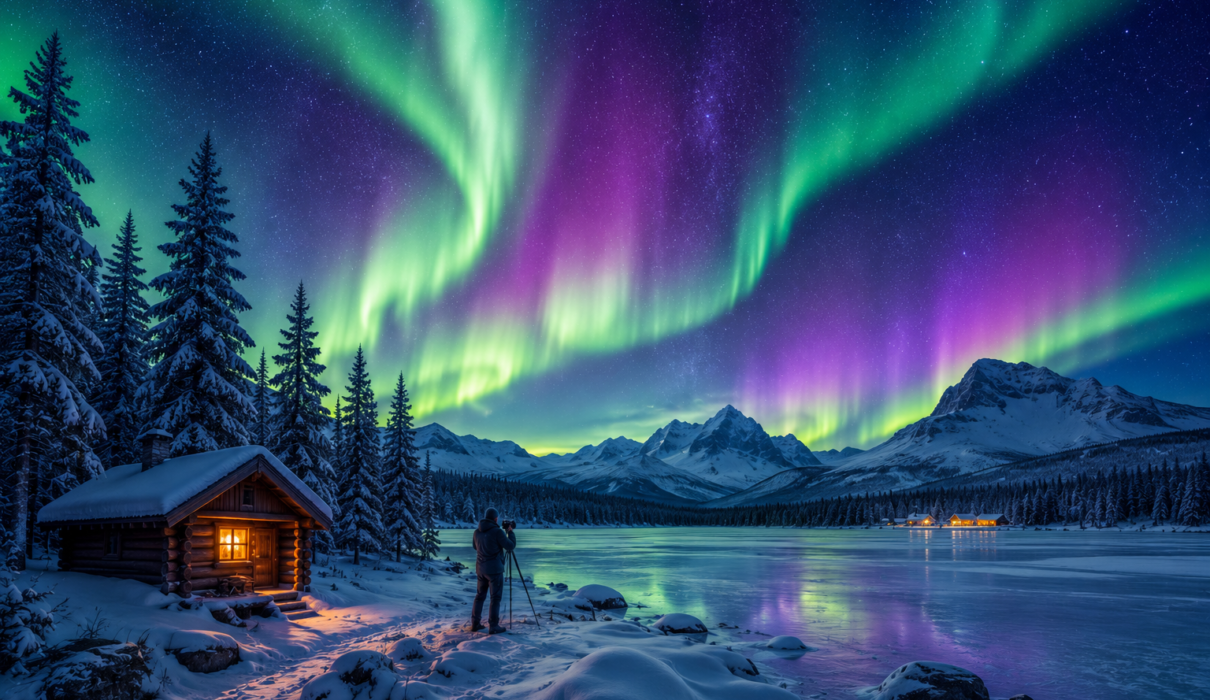
Hook: Imagine standing under a sky painted with curtains of green, purple and red light, the crisp air still, and the only sound your own breath. That moment—raw, fleeting, and unforgettable—is why travelers chase the northern lights. Whether you’re dreaming of aurora hunting in Iceland, Norway, Canada, or Alaska, this guide packs the science, travel planning, photography tips, and booking advice you need to make that moment happen.
What are the northern lights? A clear, friendly explanation
The northern lights, also called the aurora borealis or simply the aurora, are natural light displays in Earth’s polar skies caused by charged particles from the sun colliding with gases in our atmosphere. When solar wind and coronal mass ejections reach Earth, they interact with the magnetic field and funnel particles toward the poles. Those particles excite oxygen and nitrogen atoms, producing light in different colors and shapes—from faint glows to shifting curtains and rays.
Key science points (quick)
- Cause: Solar particles + Earth’s magnetic field.
- Colors: Green and red from oxygen; blue and purple from nitrogen.
- Where: Most visible near polar regions—northern hemisphere auroras are called aurora borealis, southern auroras are aurora australis.
- Intensity: Measured by Kp index and solar activity—higher Kp means more widespread visibility.
Best places and times to see the aurora borealis
If your goal is to witness the northern lights, your choices of location and season matter. Here are the top regions and timing tips to increase your odds.
Top locations
- Iceland: Accessible from Reykjavik, great diversity in landscapes and many northern lights tours.
- Tromsø, Norway: One of the most reliable aurora destinations with guided chases and fjord backdrops.
- Abisko, Sweden: Famous for a microclimate that often gives clear skies—home to the Aurora Sky Station.
- Finnish Lapland (Rovaniemi, Ivalo): Remote cabins and glass igloos for cozy viewing.
- Alaska (Fairbanks): Strong aurora activity and many tour operators specializing in aurora experiences.
- Canada (Yellowknife, Whitehorse, Churchill): Northern communities known for frequent displays and tourism infrastructure.
Best time of year and hours
- Season: Late September to early April in most northern locations. Winter months offer long dark nights.
- Hours: Peak viewing often between 10pm and 2am local time, but auroras can occur any time it’s dark.
- Weather: Clear skies are essential—cloud cover is the most common reason to miss displays.
Planning your trip: practical tips to maximize success
Seeing the northern lights partly depends on luck, but good planning stacks the odds in your favor. Here’s how to prepare.
Choose dates strategically
- Plan multiple nights: Book at least 3–5 nights in your aurora destination to increase chances.
- Avoid full moon periods if you want darker skies; a new moon offers the best contrast for photography.
- Check long-term solar forecasts—seasonal trends can influence activity.
Pick the right base and tours
Decide whether you prefer to stay in a town with amenities or in remote lodgings. Many travelers combine a base town with guided aurora chases to find clear skies and active displays.
- Guided chases: Expert drivers and guides who track weather and KP index to find clear skies. Great for first-timers and photographers.
- Self-drive: Gives flexibility but requires comfort driving in winter conditions and aurora navigation skills.
- Stationary stays: Glass igloos, remote cabins, and hotels with aurora wake-up calls are ideal for comfort-focused travelers.
Northern lights photography: gear, settings, and composition
Photographing the northern lights is deeply rewarding but requires practice. Here are reliable settings and composition tips that work across most cameras.
Essential gear
- Camera: Mirrorless or DSLR with manual controls; full-frame sensors perform best in low light.
- Lens: Fast wide-angle lens (14–24mm, f/2.8 or faster preferred).
- Tripod: Stable and sturdy—cold weather can make cheap tripods brittle.
- Remote shutter or camera timer: Prevents shake during exposure.
- Extra batteries: Cold drains battery life quickly—bring spares in an inner pocket to keep warm.
- Headlamp with red light: For camera adjustments without ruining night vision.
Camera settings to start with
Use these baseline settings, then tweak based on aurora brightness and movement.
- Aperture: f/2.8–f/4
- Shutter speed: 5–15 seconds (shorter for fast-moving, brighter auroras; longer for faint displays)
- ISO: 800–3200 (higher ISO for fainter auroras; balance noise)
- Focus: Manual focus set to infinity; use live view and zoom in on a bright star to fine-tune.
- White balance: Auto works, but 3200–4000K often yields pleasing colors.
Composition and storytelling tips
- Include foreground: Trees, cabins, mountains or water create a sense of place and scale.
- Use reflections: Lakes and fjords can mirror the aurora for dramatic photos.
- Bracket exposures: Capture sequences to blend foreground and sky if needed.
- Shoot in RAW: Gives maximum flexibility for post-processing color and exposure.
Understanding aurora forecasts and apps
Forecast tools help you decide when to stay out or head to a different area. They’re not perfect, but they’re indispensable for planning.
Important forecast metrics
- Kp index: Ranges 0–9. Kp 4–5 can yield visible auroras in many northern regions; higher values mean auroras can be seen farther from the poles.
- Local cloud cover: Even strong auroras are invisible under clouds.
- Geomagnetic activity: Alerts and real-time monitoring show sudden increases from solar storms.
Recommended apps and sites
- Space Weather Prediction Center (NOAA SWPC) — official space weather forecasts.
- University of Alaska Fairbanks Geophysical Institute — aurora forecasts and alerts.
- Local services: Icelandic Met Office, Norwegian Meteorological Institute, and regional tourism boards often provide combined cloud and aurora forecasts.
- Mobile apps: My Aurora Forecast, AuroraWatch UK, and Aurora Forecast by SoftServe are popular for travelers.
Practical packing, clothing, and safety tips
Spending hours outside at night in winter requires intentional packing. Comfort and safety matter as much as camera gear.
Clothing checklist
- Base layers: Moisture-wicking thermal underwear.
- Mid layers: Fleece or wool for insulation.
- Outer layer: Insulated, windproof and waterproof parka.
- Accessories: Warm hat, balaclava, waterproof gloves or mittens, wool socks, and insulated boots.
- Hand warmers: Useful for long night sessions.
Safety and comfort
- Tell someone your plan if aurora chasing alone; share expected return time.
- Watch for slippery surfaces, thin ice, and wildlife in some regions.
- Acclimate to altitude and cold—avoid alcohol as it increases heat loss.
Booking tours, costs, and tour types
From budget-friendly group chases to luxury private expeditions, there’s a tour for every traveler. Consider what kind of experience you want before booking.
Tour types
- Group aurora chases: Cost-effective, nightly outings with driver/guides who hunt for clear skies.
- Private tours: Personalized, flexible, and better for photography workshops or special occasions.
- Multi-day packages: Combine activities like dog sledding, ice cave tours, and aurora viewing for a fuller adventure.
- Stationary experiences: Stay in a glass igloo, aurora cabin, or remote lodge with wake-up services.
Cost expectations
- Group chases: Often $50–$150 per person depending on country and inclusions.
- Private tours: $200–$800+ depending on duration and exclusivity.
- Packages and luxury stays: Can range from a few hundred to several thousand dollars per night for high-end lodgings and experiences.
How to maximize your chances: checklist
- Book multiple nights in an aurora-active region.
- Use local guided chases that track real-time weather and geomagnetic activity.
- Monitor Kp index and cloud cover using recommended apps.
- Choose remote, dark locations away from light pollution.
- Keep camera gear ready and batteries warm.
Frequently Asked Questions (FAQ)
When is the best time to see the northern lights?
The best season is late September through early April in most northern destinations, with peak hours often between 10pm and 2am local time. Aim for multiple nights and clear, moonless skies to improve your chances.
Can I see the northern lights from a city?
Bright auroras can sometimes be visible from cities at high latitudes, but light pollution reduces visibility and color intensity. Traveling even a short distance outside the city can dramatically improve your view.
Do I need to join a tour to see the aurora?
No, but guided tours increase your odds. Guides have experience reading forecasts and drive to clearer skies. If you prefer independence and are comfortable with winter driving and weather assessments, self-guided chases can work too.
What should I do if the forecast is for clouds?
Consider a guided chase that will move to clearer areas, or plan alternative activities (ice caves, museums, local culture) and try again the next night. Flexibility is essential.
Are northern lights guaranteed?
No. The aurora is a natural, variable phenomenon influenced by solar activity and local weather. Reputable tour operators often offer rebook or refund policies if conditions prevent viewing—check before booking.
Conclusion: Make the chase part of the experience
Seeing the northern lights can be a life-affirming experience, but it requires planning, patience, and a bit of luck. Combine an understanding of the science, smart trip planning, the right photography gear and settings, and the use of reliable forecasts to maximize your chances. Whether you choose the comfort of a glass igloo, the expertise of a guided chase, or the freedom of a self-drive trip, the key is to stay flexible, dress warmly, and savor the anticipation—sometimes the best displays come when you least expect them.
Ready to plan your aurora adventure? Start by choosing your destination, booking 3–5 nights, and downloading a trusted aurora app. If you want help comparing tours or picking a photography workshop, consider contacting an experienced tour operator or local guide to turn that imagined sky into reality.